I have always had dreams of growing my own food. Of living some idyllic pastoral life, strolling through happy chickens and a bountiful garden, and living off the land. Just last week I dismissed it as being nothing more than a pipe dream, but that was before I began self-isolating for an undefined length of time.
So, to help pass the time in this new normal, I am having a go at growing my own vegetables and herbs. It is helping relieve the stress by giving me back a sense of control (however tiny) and offers some positivity in these all-too-often negative times. For those with kids, this is a good (but messy) way to keep them entertained, too.
To find out how to do it, I did what every self-respecting adult does in such a situation: I turned to YouTube. Here's what I've learnt about the process.
Look through the gallery for a step-by-step guide.
What you need to hand
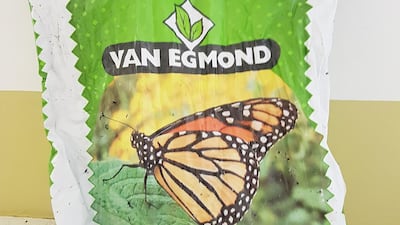
Use the best soil/compost available, because apparently the mantra you are what you eat applies to plants, too. Good soil = good veggies.
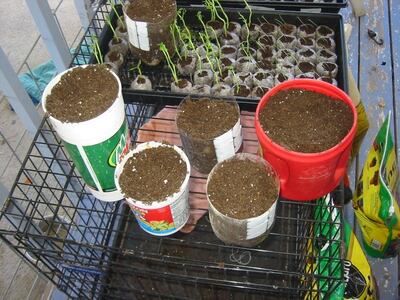
Find a series of suitable containers. These do not have to be specially bought, as any old plastic container will do. Just ensure it is not too deep and is immaculately clean. Personally, I find supermarket date packets ideal.
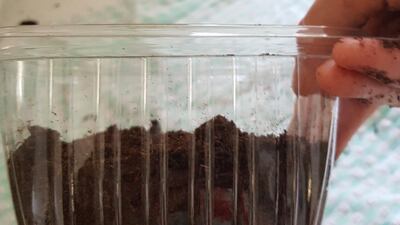
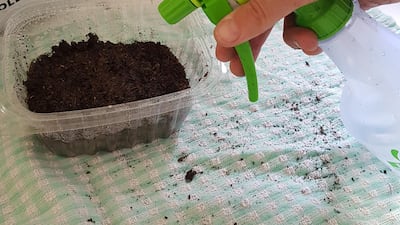
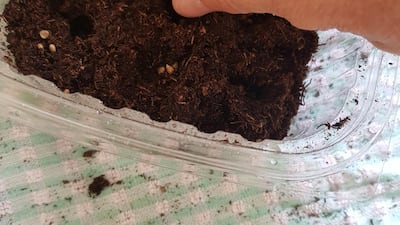
Fill the containers two-thirds full with the soil or compost. Next, lightly spray with tap water so the surface is nicely damp, but not soaking wet.
Wait a few moments to let the water work its way further down the compost, and then it is time to add the seeds.
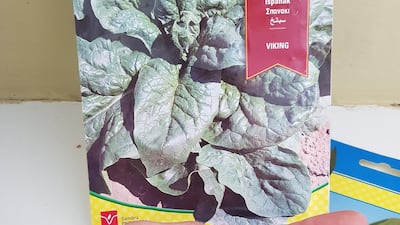
Shop-bought packets are great, and stores such as Ace and The Garden Centre have a good range. Don’t forget that pips and stones from fruit are just as good. Store them on kitchen paper or a towel so they are completely dry first, or else they will rot in the soil.
With your finger or a pencil, poke a series of holes about one centimetre deep and 1cm apart, in as many rows as will comfortably fit. One date packet, for example, usually yields two rows, with a third mini row squashed in the gaps between.
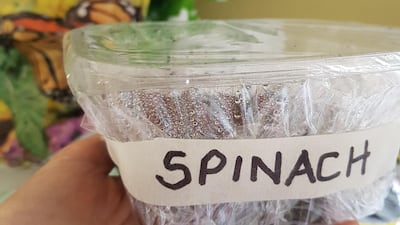
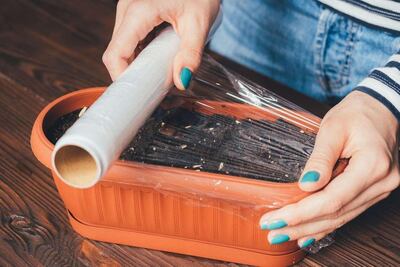
Drop one or two seeds into each hole and gently cover with soil. Then cover the whole container with clingfilm. This will act as a tiny green house, keeping moisture in to create a warm, damp mini environment. If the soil is too wet, this humidity could make seeds rot, so you will need to keep an eye on it.
Don’t forget to write what type of seeds are planted on the container, as you will forget, and little green shoots are impossible to tell apart. Trust me.
Finally, find a nice safe spot for the tiny farms on the windowsill or balcony that gets lots of sunlight. And then wait.
Aftercare is important, too
After a few days – how many depends on what type of seed you've planted; some take three days, while others show up randomly two weeks later – some delicate shoots will hopefully start to appear.
Check that there is no mould on the soil. If there is, take off the clingfilm, remove the mould with the tip of a knife, then re-cover once more. If the issue persists, leave the clingfilm off and let the soil dry out for a day, which should solve the problem. If, however, the seeds are rotten, then you have to discard and start again from the beginning. Sorry.
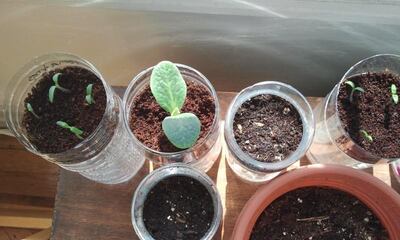
Once the shoots are about 8-10cm tall, they can be transplanted into bigger, sturdier containers – window boxes are perfect. As before, fill the box with two-thirds soil/compost and lightly spray with water.
Very carefully, move the young shoots from the small container to the window box. Gently lifting with a table knife should help. Put each one into the new holes, which should be about 18-20cm apart, to allow them to grow. Once in place, gentle press the soil down around each new plant, and then lightly water. Again, do not soak the soil. It is better to add a little at a time, than too much and risk the roots rotting. Once again, make sure to make note of which plants are where, as I forgot and now have to just wait and see what appears.
What should you try growing using this method?
Tomatoes: They grow easily and well this way, especially cherry tomato plants, which are small and develop quickly.
Aubergines: These are very easy to sprout but, as a climbing plant, once established they will need room to expand upwards, so think about where best to put it. It cannot climb unsupported, so let it rest on a wall or fence, if you have one.
Peas/beans: These climbers are a bit trickier to sprout but grow quickly once established.
Corn: Forget buying packet seeds, and instead just push a whole, raw corn on the cob into a pot of soil. Nothing will happen for about three weeks but then tiny green leaves will start to sprout and, voila, you have corn growing in your kitchen.
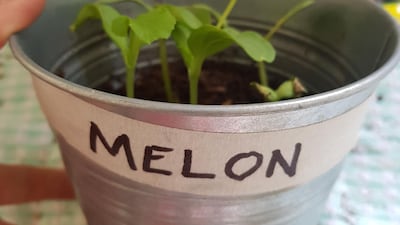
Melon: Plant seeds left over from breakfast melon and eight days later, you'll find tiny melon plants are growing.
